 Save
Save There&aposs a special hum in the kitchen on celebration days, the kind where excitement seems to bounce between clinking bowls and the whir of a mixer. Making these cheesecake bites for my cousin&aposs graduation party was one of those days — the air practically sparkled with anticipation (and a fair amount of whipped cream accidentally splattered onto my favorite apron). As I pressed the buttery crumbs into mini liners, everyone hovered nearby, lured by the sweet smell and the promise of party treats. It&aposs the sort of recipe that feels just right when you want to turn small moments into grand occasions. There&aposs something about bite-sized cheesecakes that instantly says, Let&aposs celebrate!
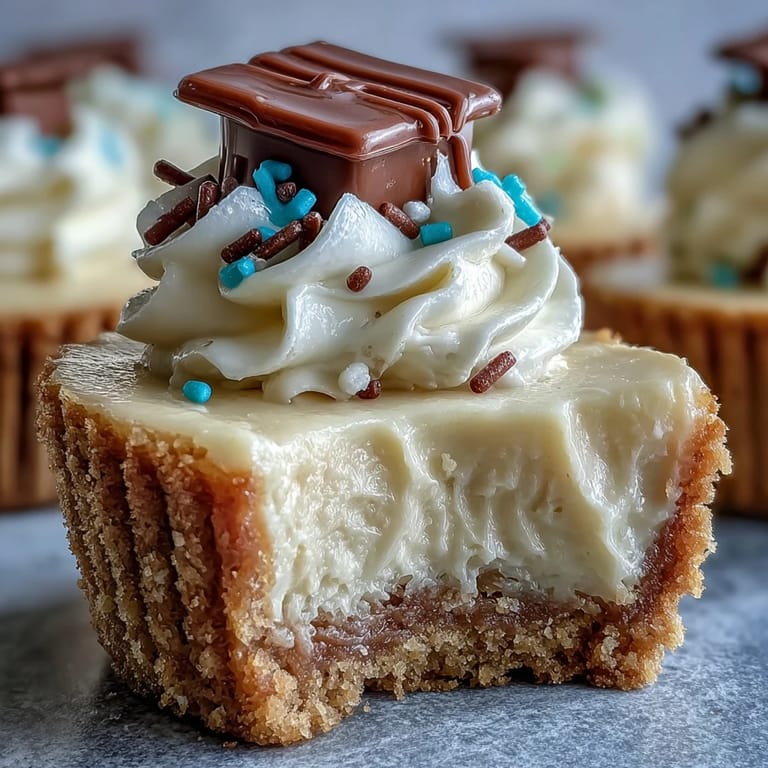
I remember a flurry of laughter as my family braided chocolate licorice to make tiny graduation caps, turning the countertop into an arts-and-crafts zone between baking rounds. Serving these at the party meant watching proud grads snagging seconds between photos and hugs — the cheesecakes were gone before the speeches even began. Even Uncle Paul, usually cheesecake-averse, claimed two for "research purposes". Moments like that remind me that food is sometimes just the backdrop for pure, chaotic happiness. A tray of cheerful bites can truly steal the show.
Ingredients
- Graham cracker crumbs: The toasty-sweet base that holds everything together; use fresh crumbs for the best textured crust.
- Granulated sugar: Adds sweetness and a bit of crunch to both crust and filling; I learned not to skimp here if you want that classic flavor.
- Unsalted butter: Melted to seal the crumbs and provide a rich, golden finish — don&apost be afraid to press it in firmly.
- Cream cheese: The heart of the cheesecake — let it sit out to soften so your filling turns out velvety smooth.
- Eggs: They give body and a gentle rise, so add them one by one for a perfectly blended batter.
- Pure vanilla extract: This makes the whole kitchen smell like a bakery; real vanilla gives the best aroma.
- Sour cream: A generous swirl keeps the centers creamy with just a subtle tanginess; don&apost leave it out.
- Salt: Just a pinch, but wow does it wake up the flavors.
- Whipped cream: Optional but irresistible — try piping it on with a star tip for some festive flair.
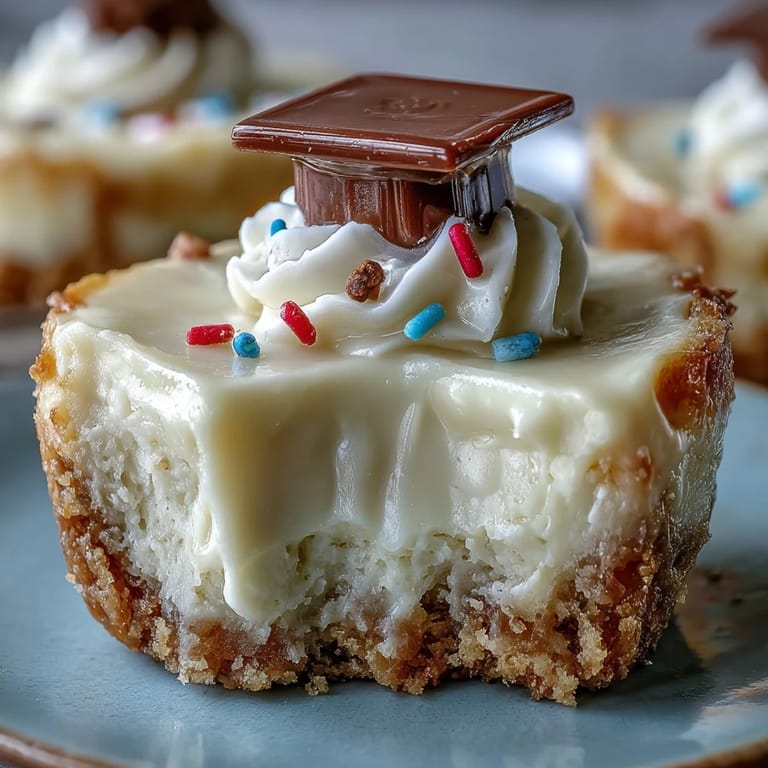
- Festive sprinkles or mini chocolate graduation caps: The fun and playful finish that turns a classic dessert into a party star.
- Fresh berries: They add a pop of color and brightness to each bite; raspberries and blueberries are my go-tos.
Tired of Takeout? 🥡
Get 10 meals you can make faster than delivery arrives. Seriously.
One email. No spam. Unsubscribe anytime.
Instructions
- Prep for the Party:
- Preheat your oven to 325°F (160°C) and line the mini muffin pan with paper liners — the anticipation starts here.
- Make the Crust:
- Combine graham cracker crumbs, sugar, and melted butter in a bowl; when the mixture looks like wet sand, divide it between the liners and press down tightly for a sturdy base.
- Set the Foundation:
- Bake the crusts for 5 minutes to scent the kitchen with that classic toasty smell, then let them cool while you whip up the filling.
- Mix the Cheesecake Batter:
- In a big bowl, beat cream cheese until completely smooth, then blend in sugar followed by the eggs, vanilla, sour cream, and salt — stop mixing once the batter looks creamy with no lumps.
- Fill the Liners:
- Spoon the filling over each crust, nearly to the top — it&aposs okay if you have to scrape the bowl clean, that&aposs half the fun.
- Bake the Bites:
- Slide the pan into the oven for 13–15 minutes, until the centers look set but still jiggle a little when you nudge the pan.
- Cool and Chill:
- Let the cheesecakes cool in their tin for about 10 minutes then transfer to a wire rack and bring to room temperature before chilling in the fridge for at least half an hour.
- Decorate and Serve:
- Just before your guests arrive, swirl whipped cream on top, sprinkle festive decorations, and crown with a berry — the more celebratory, the better.
 Save
Save  Save
Save I realized these cheesecake bites are more than just dessert when my nephew handed me a slightly smooshed one, beaming, and whispered, 'I made this one!' All that careful pressing, piping, and decorating suddenly felt less about perfection and more about making simple snacks feel like little victories.
How to Personalize Your Cheesecake Bites
Sometimes I raid my pantry for extra toppings — lemon zest, toasted coconut, or even edible gold flakes if I'm feeling fancy. Kids especially love getting hands-on with the final step, turning each cheesecake into a tiny, edible art project. If you're hosting, let everyone choose their own sprinkles — it keeps the party spirit alive right to the dessert table. Mini chocolate chips and fruit jams are great for mixing up the flavor, if you've got adventurous tasters around. The best cheesecake bites are the ones with a little personality on top.
Make-Ahead Magic
These bites are surprisingly forgiving if you need to prep ahead — I've stashed trays in the fridge overnight with perfect results. Just hold off on whipped cream and toppings until you're almost ready to serve, or else they can get a bit soggy. That means more time actual celebrating, less time hovering in the kitchen. If you're a fan of cold cheesecake, they're even better the next day. The flavor settles in and gets richer after a good chill.
Party Serving Strategies
I like to arrange these cheesecakes on a silver tray with berries tucked in between for a graduation look that&aposs both fun and festive. If you've got a crowd, double the batch and leave out extra sprinkles for a help-yourself bar. And if you notice a few missing before you serve — well, that's the sign they're too tempting to resist!
- Let cheesecakes come to room temp for 10 minutes before topping.
- Use a piping bag for cleaner whipped cream dollops.
- If any stick to the pan, run a thin knife around each liner to pop them out neatly.
 Save
Save  Save
Save Whether you're toasting a new grad or just sparking some celebration, these cheesecake bites are bound to leave everyone cheering for more. Share them generously — but you might want to save one just for yourself.
Recipe FAQs
- → How can I avoid cracks in the filling?
Use room-temperature cream cheese and mix until just smooth—overbeating incorporates air. Bake until centers have a slight jiggle and avoid sudden temperature changes; cooling gradually and chilling before serving helps prevent surface cracks.
- → Can these be made ahead of time?
Yes. Store chilled, uncovered in the fridge for up to 24 hours, then add whipped cream and decorations just before serving. For longer storage, freeze un-topped bites in a single layer, then thaw overnight in the refrigerator.
- → What crust variations work well?
Swap graham crackers for chocolate cookie crumbs for a richer base, or use gluten-free cookies to accommodate dietary needs. Adjust melted butter slightly if using finer or coarser crumbs to get a pressable texture.
- → How do I know when they're done baking?
The edges should look set while the centers retain a slight wobble when you gently shake the pan. They will firm up as they cool; overbaking leads to dryness and more risk of cracking.
- → What are simple decoration ideas for graduation?
Top each bite with a dollop of whipped cream and festive sprinkles, fresh berries, or a mini chocolate square and licorice string fashioned into a cap. Keep decorations small so they complement the bite-sized portions.
- → How can I adapt for common allergens?
Use dairy-free cream cheese and whipped topping for a lactose-free option, swap eggs for an appropriate binder or commercial egg replacer if needed, and choose gluten-free cookie crumbs for the crust. Always check labels for traces of nuts.