 Save
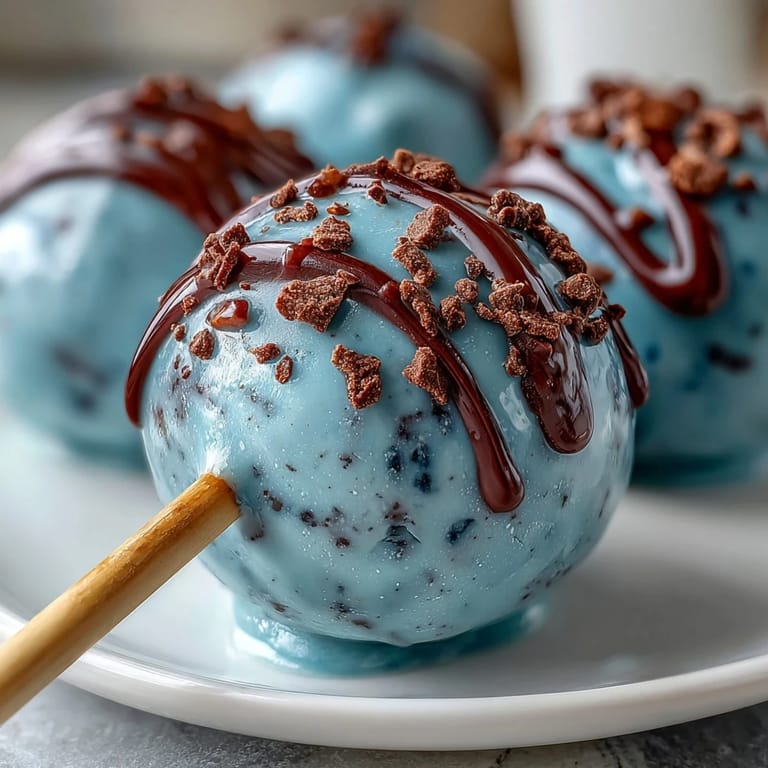
Save My sister texted me a photo of robins eggs she'd found in her garden that spring, and I couldn't stop staring at that particular shade of blue. A few days later, I was at the store looking for Easter dessert ideas when it hit me: I could capture that exact color in something edible. These cake pops became my answer, and now whenever I make them, I'm transported back to that moment of inspiration mixed with the slightly frantic energy of trying to get the shade just right.
I brought these to an Easter brunch once, and a kid at the party asked if they were real robins eggs before biting into one. The mixture of disappointment and delight on her face when she realized they were cake was priceless, and her mom immediately asked for the recipe. That moment taught me that these pops aren't just dessert—they're little surprises that catch people off guard in the best way.
Ingredients
- Vanilla cake mix (1 box): A reliable shortcut that lets you focus on the fun parts; homemade works too if you have a favorite recipe you trust.
- Unsalted butter (1/2 cup): The foundation of your frosting, softened to room temperature so it creams without lumps.
- Powdered sugar (1 1/2 cups): Creates that silky texture that makes the frosting cling to the cake crumbs perfectly.
- Milk (2 tbsp): Adjust this amount slightly if your frosting feels too stiff or too loose—every kitchen is different.
- Vanilla extract (1 tsp): The quiet backbone that ties the whole flavor together.
- White candy melts or white chocolate (12 oz): Candy melts are more forgiving for dipping, but real chocolate tastes better if you're patient with tempering.
- Blue gel food coloring: Use oil-based coloring to avoid seizing the chocolate; water-based will cause trouble every time.
- Coconut oil or vegetable shortening (2 tbsp, optional): A lifesaver if your coating is too thick; makes dipping smooth and even.
- Cocoa powder (1 tbsp): Mixed with vodka, it creates those delicate speckles that mimic a real egg's texture.
- Lollipop sticks and Styrofoam block: Essential tools that make assembly feel organized and prevent a dipping disaster.
Tired of Takeout? 🥡
Get 10 meals you can make faster than delivery arrives. Seriously.
One email. No spam. Unsubscribe anytime.
Instructions
- Bake your cake foundation:
- Follow your cake mix instructions or use your favorite recipe, then let it cool completely—this matters more than you'd think because warm cake becomes soggy crumbs. A fully cooled cake crumbles into finer pieces that bind together beautifully with frosting.
- Make the frosting:
- Cream that softened butter until it's pale and fluffy, then gradually add powdered sugar so you don't end up with a flour-like disaster. Once it's smooth, stir in milk and vanilla until the whole thing feels like silky clouds.
- Create the cake pop mixture:
- Crumble your cooled cake into fine crumbs, then add frosting slowly while mixing with your hands—you're looking for a texture that holds together when rolled but doesn't feel sticky. It's tempting to add all the frosting, but restraint pays off here.
- Roll into balls:
- Make them roughly equal in size so they cook and set evenly; I eyeball it at about 1 tablespoon each, but use a cookie scoop if you want perfect uniformity. Pop them on a parchment-lined sheet and freeze for 15 minutes to firm up before dipping.
- Prepare your coating:
- Melt your candy melts gently in a double boiler or microwave in 20-second bursts, stirring between each interval so it doesn't scorch. Tint it to robins egg blue using oil-based gel coloring, and thin it slightly with coconut oil if needed—the coating should be pourable but still cling to the pops.
- Secure the sticks:
- Dip each stick's tip into the blue coating, then push it halfway into a cake ball and refrigerate for 10 minutes so it won't spin around when you dip. This step feels tedious but prevents frustrated moments later.
- Dip into the blue:
- Submerge each pop fully into the coating, rotate it gently, and let the excess drip off before standing it upright in your Styrofoam block. The block holds them steady while the coating sets, which usually takes about 30 minutes depending on your kitchen temperature.
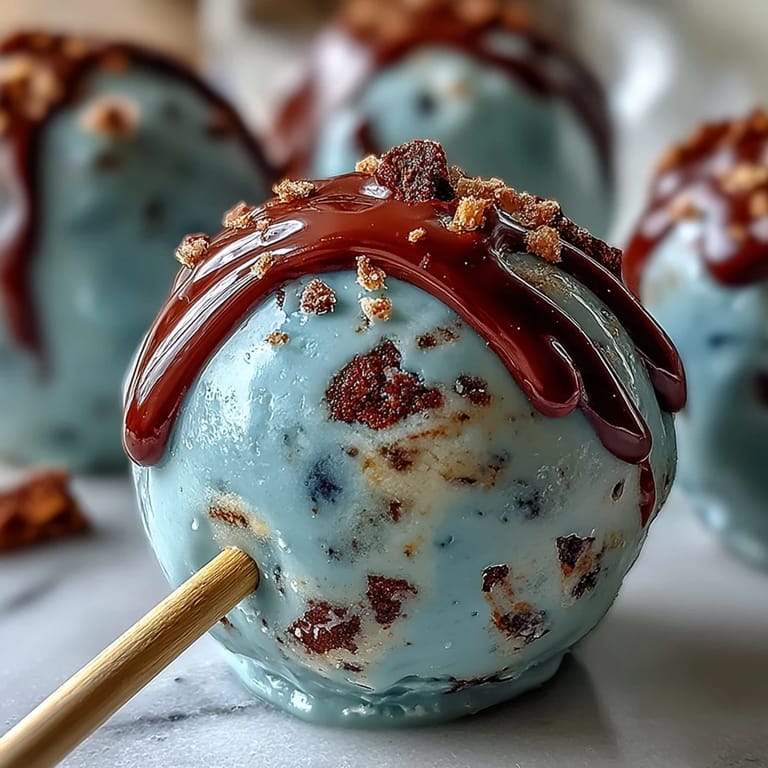
- Add the speckled effect:
- Mix cocoa powder with vodka or clear extract into a thin paste, dip a food-safe brush, and flick it gently over each pop to create those natural-looking speckles. If you want extra shimmer, dust on edible gold or silver luster while the coating is still slightly tacky.
- Set completely:
- Leave them undisturbed for at least an hour before serving so the coating hardens fully and feels satisfying to bite into.
 Save
Save I made these for my neighbor when she was going through a rough patch, and she called me three days later just to say they'd made her smile. There's something about a carefully made, thoughtfully decorated dessert that says I was thinking of you in a way words sometimes can't match.
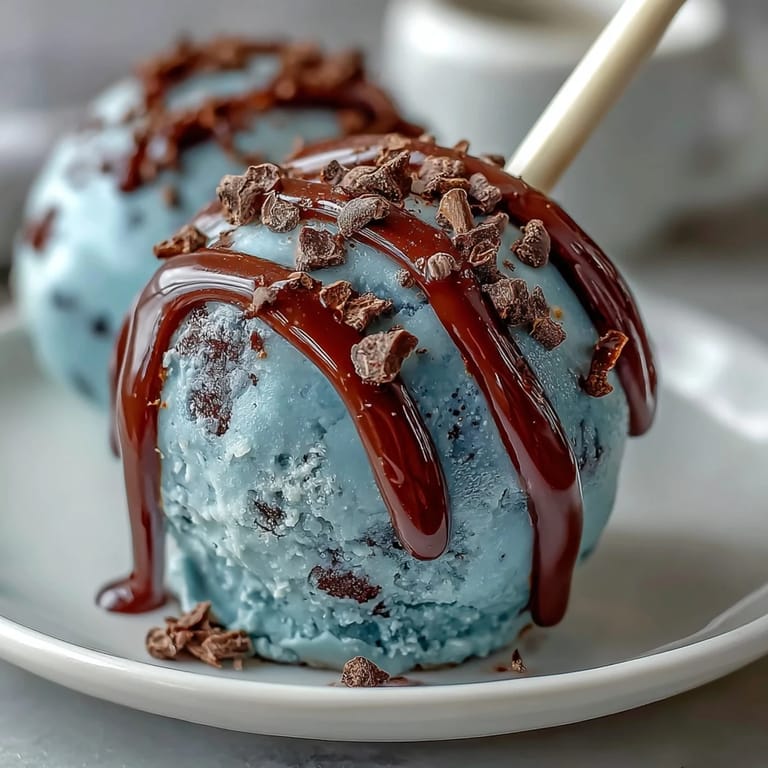
The Magic of the Right Blue
Getting that robins egg blue shade is less about following a recipe and more about trusting your eye. I've found that starting with just a tiny drop of coloring and building up from there works better than guessing and ending up with a shade that's too bright or too dull. The first time I made these, I used too much coloring and ended up with something closer to peacock blue, which was beautiful but not what I was going for.
Why These Pop as Party Favors
One of my favorite discoveries was that these travel well in small boxes tied with ribbon, making them perfect gifts that feel special without requiring a whole dessert course. People genuinely light up when they receive a little box of something this polished, and you can make them a few days ahead, which takes pressure off day-of stress.
Storage and Keeping Them Fresh
I keep mine at room temperature for the first three days if I'm serving them at an event, and they stay perfect and snappy under the coating. If I'm making them ahead for a week, I refrigerate them in an airtight container, though they can sometimes get a bit condensation on the outside when they warm back up.
- Store cake pops at room temperature for up to three days, or refrigerate for up to a week in an airtight container to prevent them from drying out.
- Remove them from the fridge about 15 minutes before serving so the chocolate coating reaches that perfect just-right temperature and snaps satisfyingly when you bite.
- Keep them away from heat and direct sunlight, which will cause the blue coating to fade or the chocolate to become soft and greasy.
 Save
Save These little blue pops have become my go-to for spring celebrations, and each time I make them, I'm reminded that the smallest details—a perfect shade of blue, delicate speckles, a thoughtful presentation—can turn something simple into something memorable. There's joy in creating something this beautiful with your own hands.
Recipe FAQs
- → What type of food coloring works best without seizing the coating?
Oil-based gel food coloring is ideal to maintain smoothness when tinting white chocolate or candy melts.
- → How can I make sure the cake bites hold together well?
Add frosting gradually to the crumbled cooled cake until the mixture sticks without becoming too sticky, then chill before shaping.
- → What is the purpose of chilling the cake balls before coating?
Chilling firms the cake balls, making them easier to handle and preventing them from falling apart when dipped.
- → How are the speckles on the coating made?
Mix cocoa powder with vodka or clear extract to form a thin paste, then flick it over the coated bites using a food-safe brush.
- → Can these treats be stored for several days?
Store at room temperature for up to 3 days or refrigerate for up to a week to maintain freshness.
- → Are there variations for dietary preferences?
Use gluten-free cake mix and ensure other ingredients comply to make these suitable for gluten-free diets.